Lab Tagging
October 11, 2015 - Reading time: ~1 minute
Available on update version 1.55
Organize the lab list with tags.
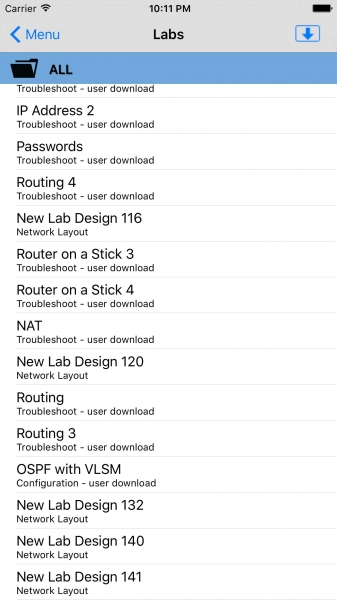
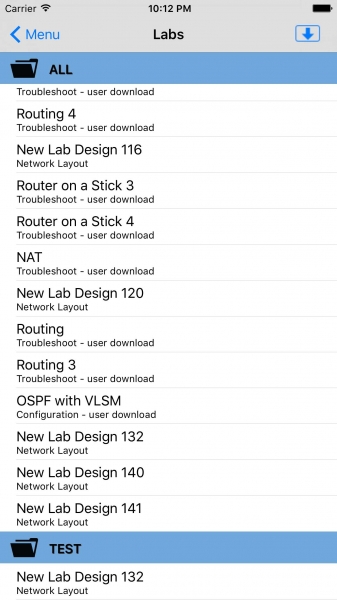
Notice the new ALL folder when viewing the labs table.
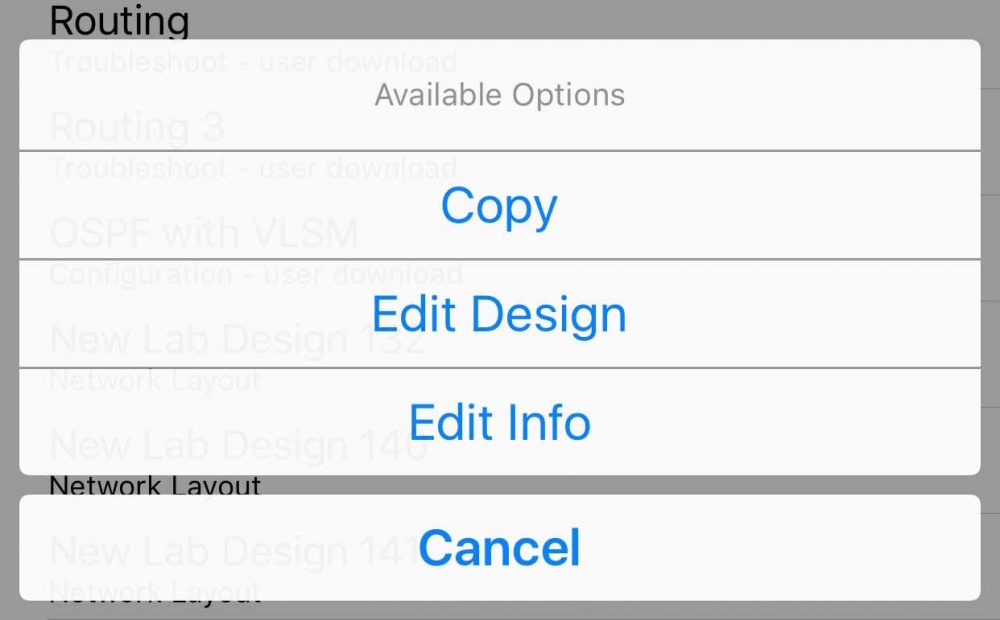
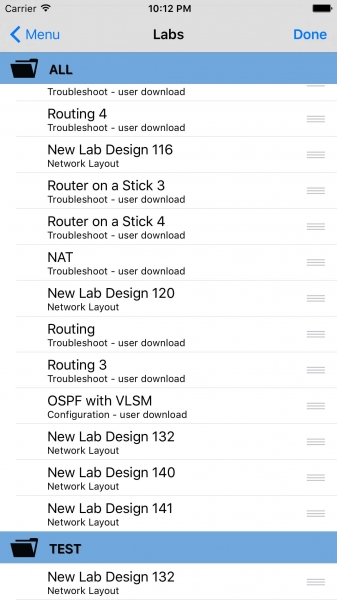
To add a tag to a network layout, select the Edit Info option from the labs menu after right swiping a user designed lab.
Type a tag information. Separate multiple tags with a comma. Save.
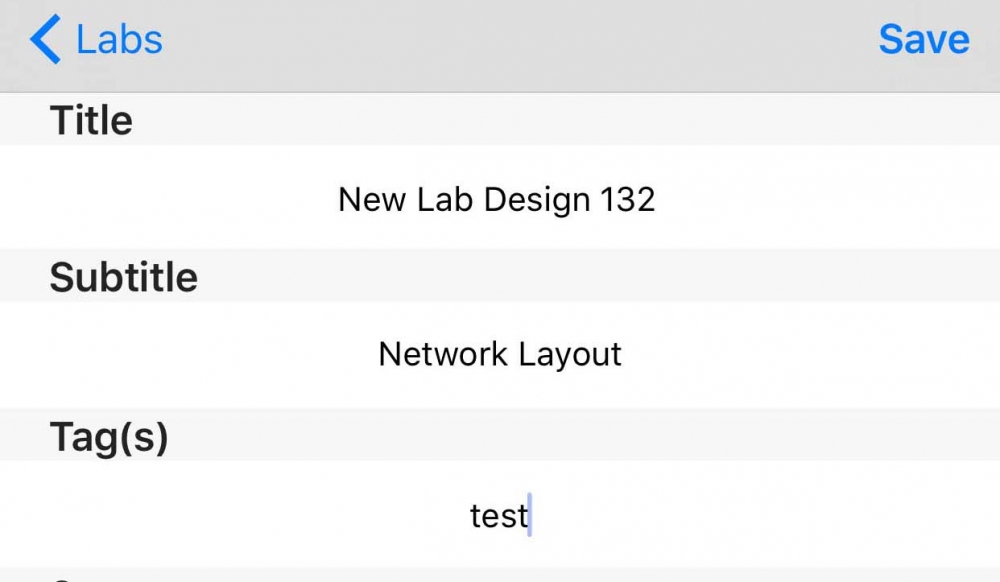
A new folder will be created from the tag(s) entered: TEST in this example.
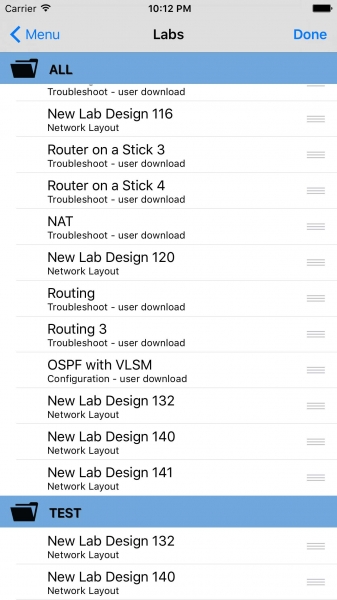
Once a folder is created, the option to drag and drop becomes available. Hold down on a cell to activating the movement option. To remove a tag, edit the tag field, or drag the lab back to the ALL section.
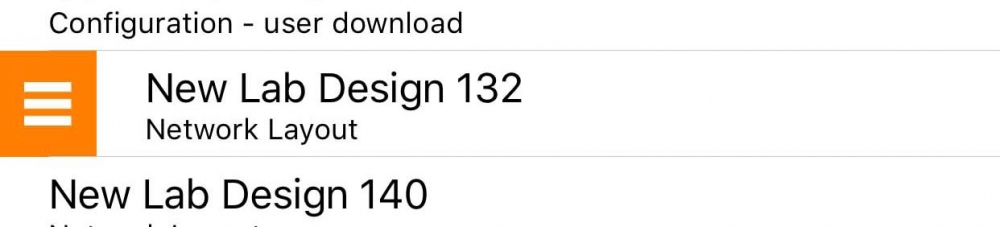
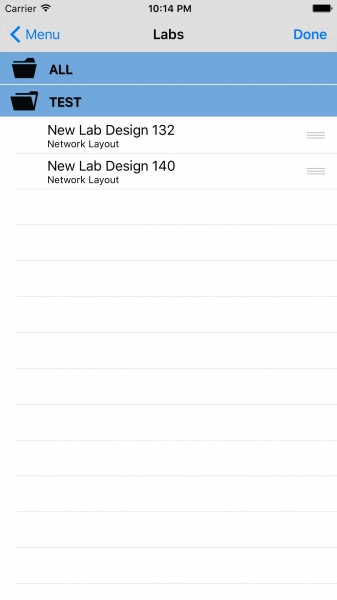
The image below is after dragging New Lab Design 140 to the TEST section.
Labs can have multiple tags or belong to multiple folders. Tap the folder name to hide or show its contents.
Found bugs: update 1.56 fixes the issue
October 10, 2015 - Reading time: ~1 minute
Version 1.56 fixes the following reported bugs:
1. Problem: Typing a * instead of a ? makes the App crash on certain commands. Example includes entering the below command:
# show ip *
Fix/Workaround: This issue is fixed on version 1.56. Please don't confuse the two characters. Use the question mark (?) for console help.
2. Problem: Naming a user designed lab with the prefix TUTORIAL is causing unexpected results.
Fix/Workaround: This issue is fixed on version 1.56. Please rename your labs to a different title to avoid unexpected problems. Labs with a prefix name of tutorial triggers functions for devices that may not be present on your design and may cause unexpected configuration issues and/or may crash the App.
We apologize for the inconvenience and appreciate your patience.
Update v1.55 submitted to the App Store
September 29, 2015 - Reading time: ~1 minute
(Update approved and released: 10/12/15)
Version 1.55 update includes:
new feature: labs tag option for folders (see tutorial)
added command: default interface [device port]
added command: default interface range [device port]
added switch command: show interfaces status
fixes: show ip protocol issue that crashes the app when there are no neighbors advertising to the current router
Submitted Crash Log
September 22, 2015 - Reading time: ~1 minute
Problem: Entering invalid characters on the the textfield causes the App to crash.
Example: You enter an emoji but the textfield was expecting an IP address.
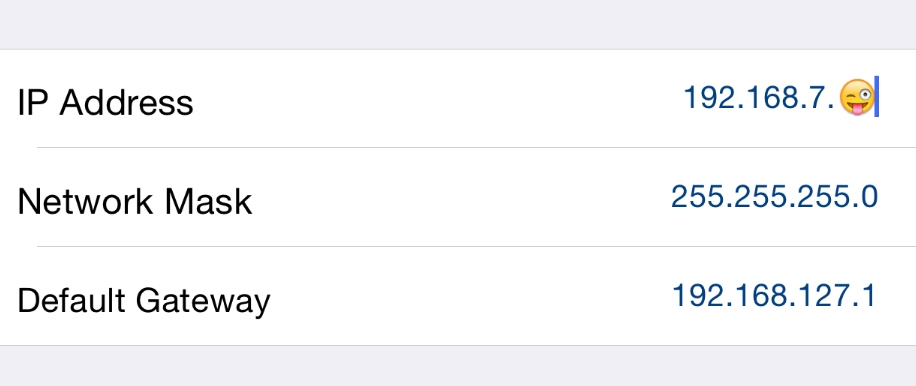
Workaround: Please enter what the fields are expecting and you won't have any issues.
This problem is fixed and will be available on update v1.55.
Scenario Labs
September 16, 2015 - Reading time: ~1 minute
CCNA Scenario Labs can now be viewed and printed outside of the App.
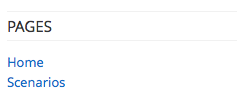
The scenarios link is located at the bottom of the menu on the right.
Scenario Creation Mode
September 12, 2015 - Reading time: 3 minutes
Available on update version 1.54
First, let's answer the question, what is a scenario? A scenario is the network lab that the IOS Network Simulator team currently provides for download. Scenarios should not be confused with the user created labs that can be freely designed and configured. It has the following characteristics:
- an objective: a scenario will have specific task/s for the user to accomplish
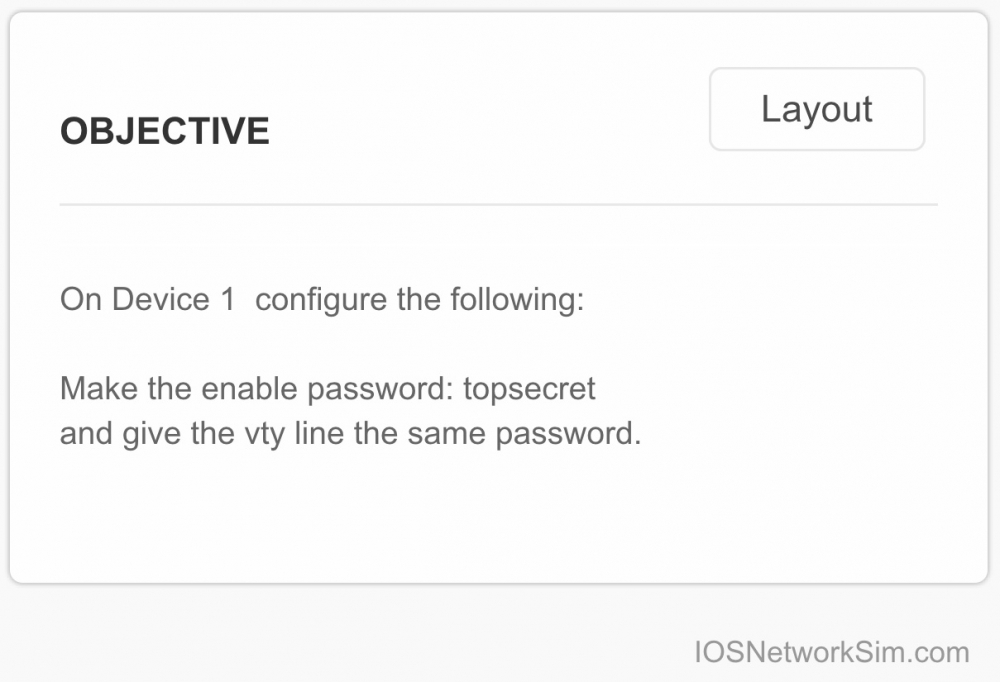
- expected answers: the user can check, based on expected answers, if the task/s are accomplished

- optional blocked commands: helps guide the user to a specific solution, commands are temporarily disabled
example: only allow configuration access to one device
Now that we know what a scenario is ... here's how to create one yourself.
The basics:
New privileged EXEC commands for managed devices (routers and switches):
- configure scenario
- no scenario-config
- no scenario-config all devices
- copy scenario-config running-config
- copy scenario-config running-config all devices
Just to be clear, these new commands are specific to the simulator. You will not find these commands on the real devices.
Use configure scenario instead of configure terminal to start the scenario creation mode. All configuration commands entered while in scenario configuration mode will be flagged as a scenario expected answer. The flagged configurations will show on the answer page as soon as the write memory or copy running-config startup-config command is entered.
Remove the answers from running-config by typing no scenario-config for the current device, or no scenario-config all devices to have it take effect for the whole lab.
The example below configures hostname test as the expected answer.
Router0>enable
Router0#configure scenario

***** Still in testing *****
IOS NETWORK SIM
SCENARIO CREATION MODE
***** Still in testing *****

Enter scenario expected commands, one per line. End with CNTL/Z
Router0(config)#hostname test
test(config)#end
%SYS-5-CONFIG_I: Configured from console by console

test#write memory
Building configuration...
[OK]
test#no scenario-config

Router0#
* Scenario configuration are not saved to startup-config. If you need a configuration copied to startup-config, please use the configure terminal command.
Copy the expected answers back to running-config with the command:
# copy scenario-config running-config
Advance scenario mode commands:
New commands for Host devices:
- disable scenario port lights
- enable scenario port lights
Disable the scenario port lights from any of the host devices with the command:
c:\> disable scenario port lights
Negate with the enable command.
Other global scenario mode commands for managed devices:
- scenario disable command COMMAND_TO_BLOCK
- scenario disable command startswith COMMAND_TO_BLOCK
- scenario disable command endswith COMMAND_TO_BLOCK
- no scenario disable command COMMAND_TO_BLOCK
- no scenario disable command startswith COMMAND_TO_BLOCK
- no scenario disable command endswith COMMAND_TO_BLOCK
- no scenario disable command all
Example usage:
(config)# scenario disable command configure terminal
- makes the device configuration read only
(config)# scenario disable command startswith interface
- interface configuration is not allowed
(config)# scenario disable command startswith router
- dynamic routing configuration is blocked
(config)# scenario disable command endswith fastethernet 0/1
- configuration involving this interface (fastethernet 0/1) is blocked
The command is per device, and the full command needs to be entered, for the block to work.
(config)# scenario disable command conf t
result: configure terminal will not be block because the wrong command (a command shortcut) was used.
Negate the block commands with the prefix no.
(config)# no scenario disable command configure terminal
Sharing of your created scenarios will be available soon. Thank you!